Vacuum mixer deaeration troubleshooting is best approached as follows. Vacuum mixer deaeration troubleshooting should separate vacuum-generation problems from product, agitation, temperature, seal, foam, and discharge problems. First confirm that the empty, isolated system can reach and hold its expected vacuum. Then test the loaded process while recording absolute pressure, product temperature, speed, foam level, batch volume, and time. A gauge reading alone does not prove that bubbles are leaving the product. This article turns that principle into a practical engineering, purchasing, commissioning, and maintenance workflow. Values and materials must be confirmed for the actual process, jurisdiction, and manufacturer’s approved design.
Define the duty and acceptance result
The immediate scope includes vacuum pump and line capacity, leak tightness, absolute pressure, vapor load, foam, viscosity, agitation, headspace, condenser or trap, and endpoint verification. Write each duty as a measurable result, identify when it occurs in the batch, and distinguish normal, startup, shutdown, cleaning, maintenance, and upset conditions. The equipment should be evaluated against the hardest credible combination rather than a convenient average. Record source, units, temperature, concentration, and test method for every input.
Decision table
| Condition or objective | What it means | Engineering response |
|---|---|---|
| Cannot reach vacuum when empty | Leak, open valve, faulty gauge, blocked line, pump condition | Isolate sections; verify gauge and hold test |
| Empty test passes, loaded batch fails | Vapor load, foam, viscosity, insufficient headspace or process leak | Record temperature, fill level and product behavior |
| Product enters vacuum line | Excess foam, high fill, poor trap or aggressive agitation | Stop safely; review headspace, trap and speed |
| Gauge stabilizes but bubbles remain | Weak circulation, viscous product, small bubbles or false endpoint | Review agitation, temperature and direct product verification |
| Vacuum is lost after mixing | Seal, valve, lid gasket or discharge-path leakage | Perform section-by-section hold test |
| Pump performance declines | Contamination, condensate, filter restriction or service issue | Inspect according to pump and trap instructions |
The table is a screening tool. It does not replace calculations, compatibility confirmation, hazard review, or testing for the specific installation.
Use absolute pressure consistently
Vacuum gauges may display absolute pressure, gauge pressure, or percentage vacuum. These values are not interchangeable. Record the instrument type, units, calibration status, and reference. Convert only with the correct local atmospheric pressure. Troubleshooting notes that say minus a number without units or reference are ambiguous. The process specification should state the required absolute pressure range and where it is measured.
Run an empty-system leak test
With the vessel clean, dry, and safely isolated, verify the pump, line, valves, lid gasket, instruments, and seals. Pull vacuum to the approved test condition, isolate the source if the design permits, and record pressure rise over time. Test sections to locate leakage. Account for temperature stabilization and outgassing. Follow manufacturer and site procedures; never expose a vessel to vacuum beyond its design rating.
Separate gas removal from vapor generation
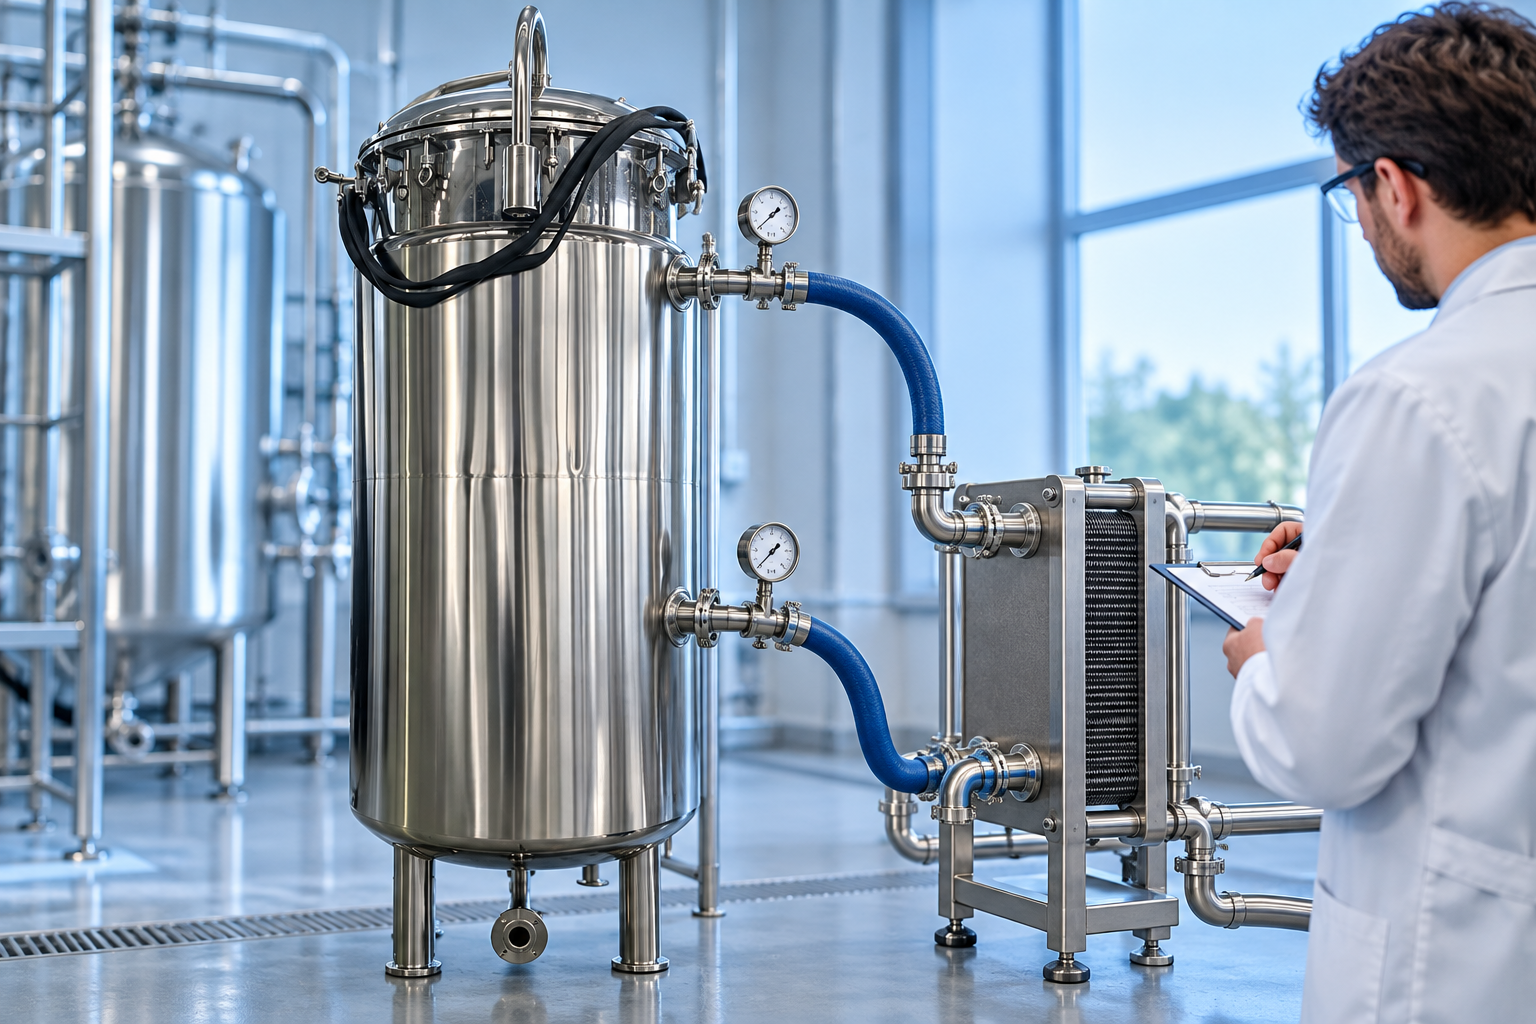
Lower pressure can cause dissolved gas to expand and leave the liquid, but it can also increase evaporation of water, solvent, flavor, or another volatile component. Warm product creates a larger vapor load. A pump sized for air leakage may struggle with condensable vapor. Confirm whether a condenser, knock-out pot, filter, or compatible trap is needed and how it is drained without breaking containment.
Control foam and usable headspace
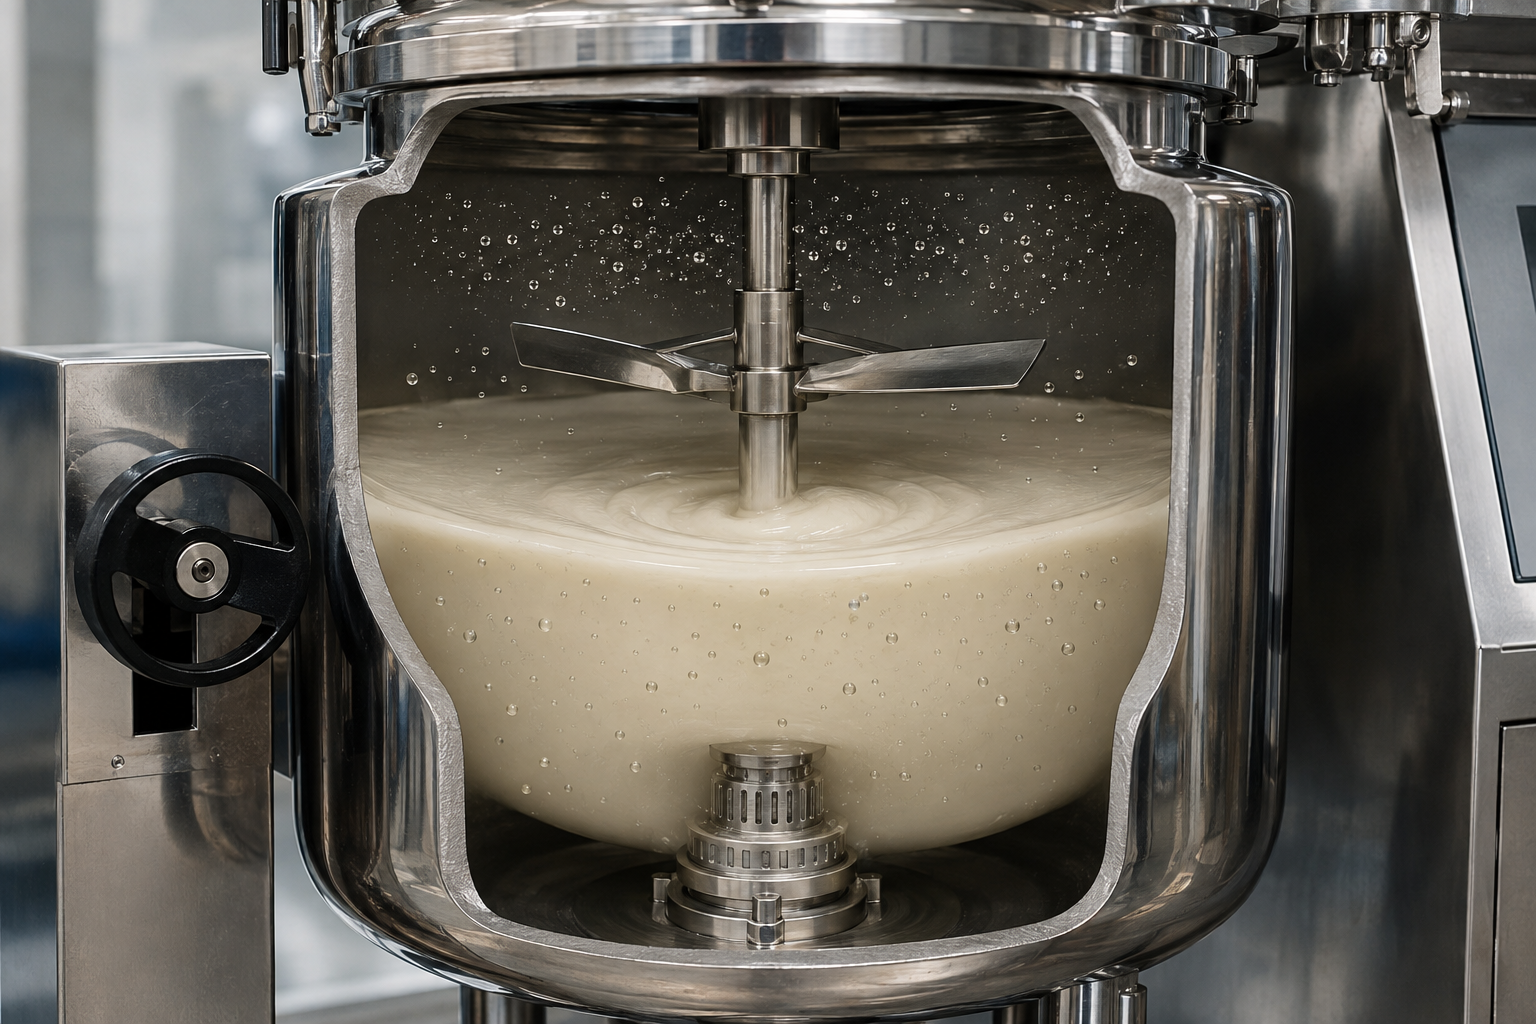
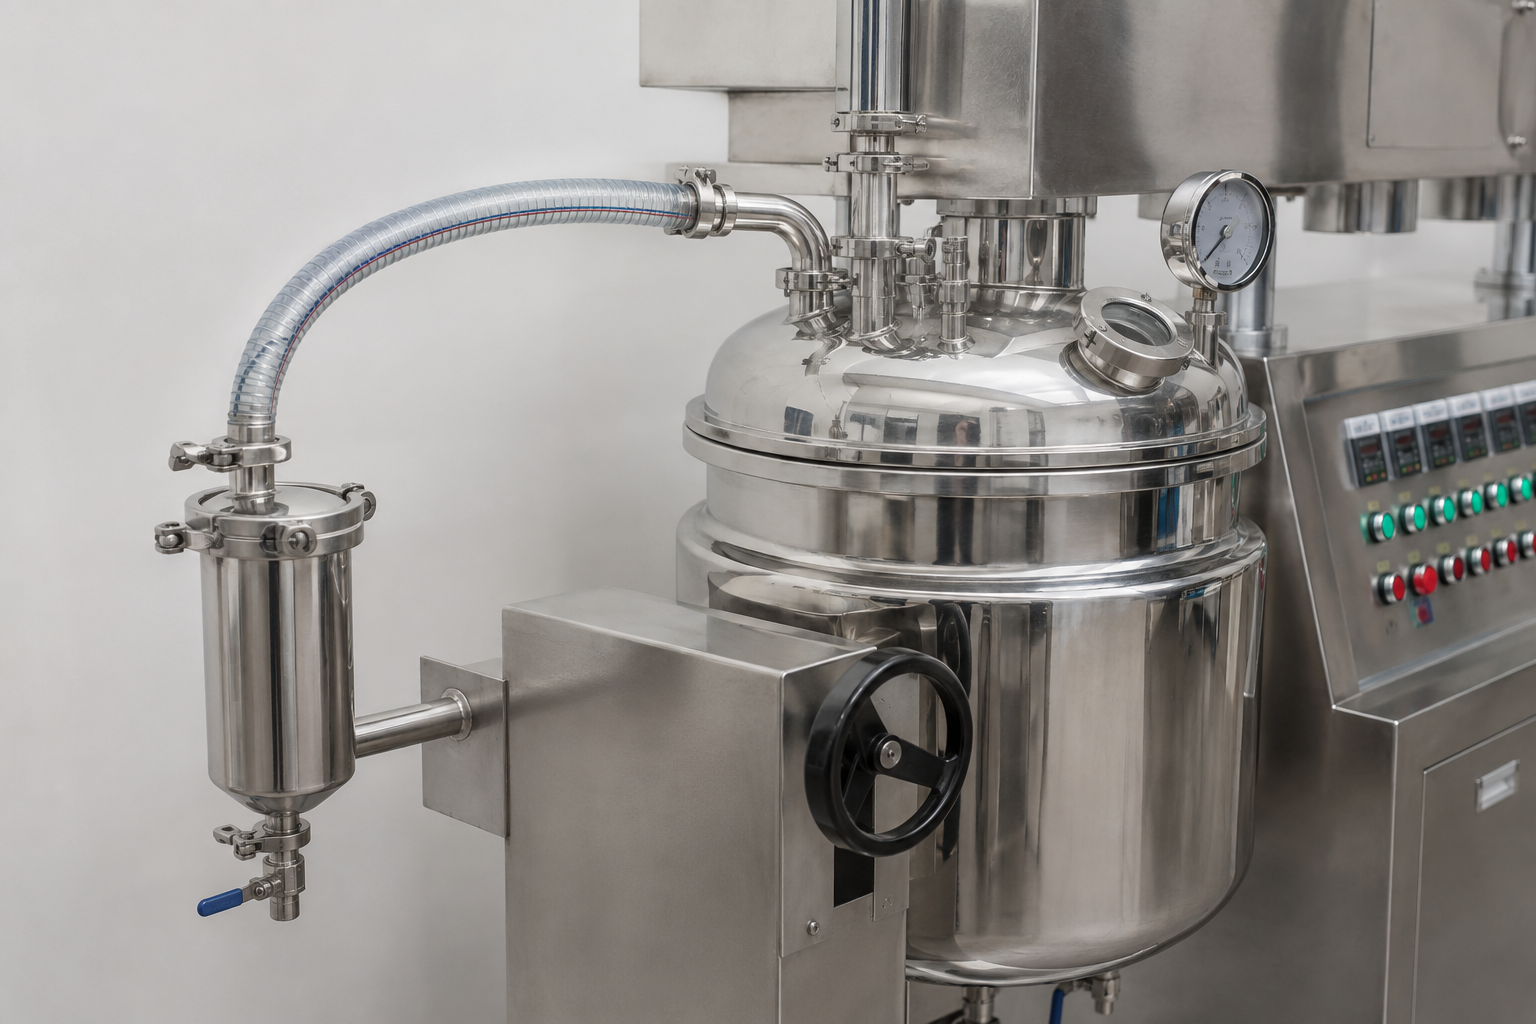
Foam can expand quickly under vacuum and carry product into the line. Keep adequate headspace for the real batch, not only the nominal vessel volume. Use a staged pressure reduction, controlled agitation, temperature management, or an approved antifoam strategy where suitable. Sight ports and level instruments can help, but they must be rated and cleanable. Define an automatic response before carryover reaches the pump.
Match agitation to bubble release
Agitation should renew surface area and move trapped gas toward the headspace without continuously drawing new air or creating excessive foam. High speed is not always better. A vortex can expose the impeller or pull headspace gas back into the product. Very viscous material may need wall-sweeping circulation and a bottom homogenizer at a controlled stage. Define speed and pressure sequences together.
Inspect seals, gaskets, valves, and hoses
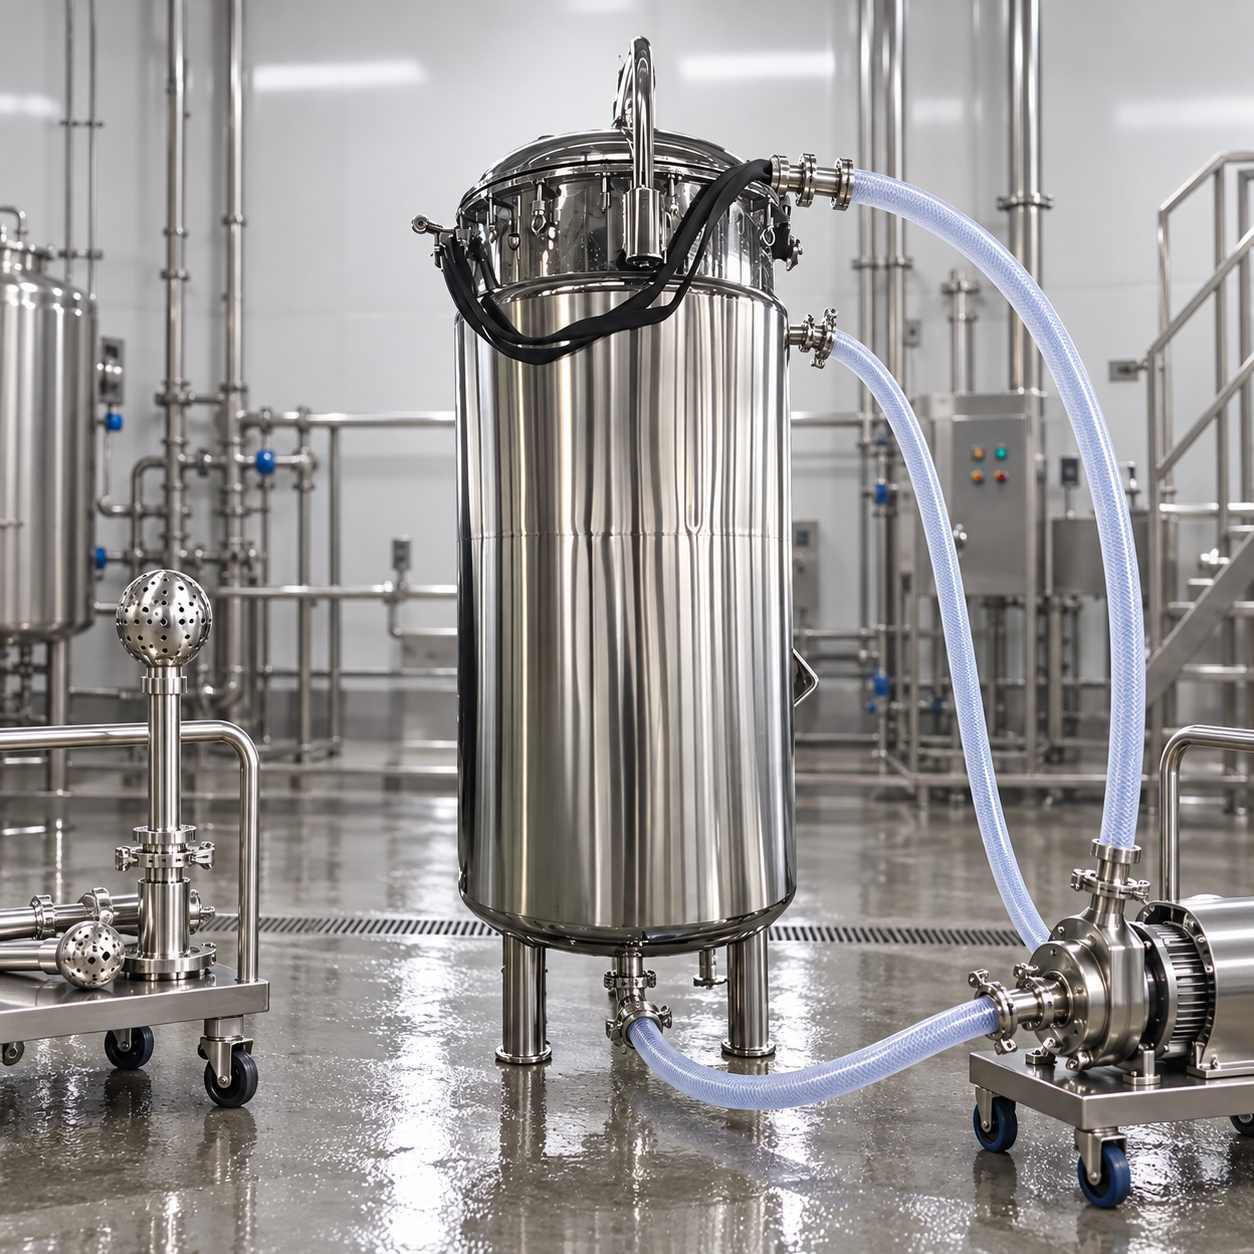
Vacuum pulls air inward through paths that may not leak liquid outward under positive pressure. Check lid gasket seating, clamp condition, valve stems, instrument threads, shaft seal, hose connections, sample ports, drain valve, and flexible hose permeability. Preserve the as-found condition. Temporary sealant is not a root-cause repair and may contaminate the product or mask a damaged surface.
Verify the deaeration endpoint
The endpoint may be stable density, reduced visible bubbles, improved fill weight, specified dissolved gas, a pressure-time response, or product performance after filling. Define the measurement and sampling method. Vacuum level and time are process inputs, not direct proof of product quality. Take samples without reintroducing air and compare with a qualified baseline. Account for bubbles that reappear after pressure is restored.
Build a repeatable troubleshooting record
Record recipe, batch mass, fill level, product temperature, viscosity information, agitator and homogenizer speeds, absolute pressure trend, pump condition, trap contents, foam behavior, cycle time, and final test result. Note cleaning or maintenance changes. A trend can reveal gradually deteriorating gasket compression, pump contamination, filter restriction, or a seasonal temperature effect before the batch fails.
Warning signs and troubleshooting boundaries
Important warning signs include slow pump-down, vacuum that cannot hold, violent foaming, product carryover, bubbles that persist after the gauge stabilizes, seal leakage, rising pump temperature, unstable pressure, or air returning during discharge. Stop and place the equipment in a safe condition when continued operation could damage the product, equipment, environment, or people. Diagnose from observations and records before changing several variables at once. A general article cannot authorize work on energized, pressurized, hot, corrosive, rotating, vacuum, or contaminated equipment.
Commissioning plan
Before startup, compare the installed equipment with the approved drawing and material list. Confirm orientation, fasteners, supports, guards, connections, instrument ranges, control direction, alarms, interlocks, drainage, access, and utilities. Start with a controlled mechanical check, then use a representative process condition. Record baseline speed, load, pressure, temperature, vibration, time, and the acceptance result relevant to vacuum mixer deaeration troubleshooting. Investigate deviations rather than normalizing them.
Maintenance and change control
Set inspection tasks from risk, service severity, manufacturer instructions, and observed condition. Keep critical spare parts identified by controlled material and drawing reference. Review changes to product, concentration, temperature, batch size, speed, cleaning, seals, software, piping, or operating sequence because they can invalidate the original basis. After maintenance, verify assembly, containment, direction, controls, and performance before full production.
Information to send with an RFQ
Provide the process description, product or chemical identity, properties across the operating range, tank geometry and levels, required duty, utilities, control philosophy, cleaning method, site environment, hazards, documentation, and acceptance test. Ask the supplier to return a completed data sheet, dimensioned drawing, material list, performance basis, motor and mechanical information where applicable, deviations, exclusions, maintenance access, spare parts, and test proposal. For vacuum mixer deaeration troubleshooting, the quotation should make the design assumptions visible enough for technical comparison.
Authoritative references
Use the sources for their stated scope. Standards, law, chemical guidance, and manufacturer instructions specified by the project take precedence over this overview.
Educational video
The following video from NPTEL, IIT Madras supports the underlying engineering or safety concept. It is supplementary and is not a YIYI product claim.

Related YIYI equipment and guides
Review the related YIYI equipment page and the primary topic guide. Complementary reading includes industrial vacuum mixer deaeration, vacuum homogenizer selection, vacuum homogenizer shear rate. Each page answers a separate part of the purchasing or operating decision.
Frequently asked questions
What information is essential for vacuum mixer deaeration troubleshooting?
Start with the actual duty, operating range, material or product properties, tank geometry, hazards, cleaning method, utilities, and a measurable acceptance result. Do not select from volume or a product name alone.
Can one rule or ratio be used for every tank?
No. Rules of thumb are screening tools. Geometry, fluid behavior, internals, operating level, process risk, and scale change the result. Confirm the final design through calculations, supplier evidence, and representative testing.
What should be checked after installation?
Compare the installation with approved drawings, verify materials and connections, test controls and safeguards, run a controlled representative trial, and record a baseline for future maintenance and troubleshooting.